Resource Librarian Managing Resources
Managing Resources
Files and Organizations can be added to the system to aid clients in overcoming their barriers to recovery. Adding new resources to the system begins with adding them to your Local Resource Library. Clients who are later "linked" to these resources have the ability to rate them using a 5-star scaling system. If a Local Resource receives an average rating of 4 or more stars the resource will then be available to all system users and will be added to the Global Resource Library. This means that the resources you add locally have the potential to be utilized by everyone regardless of geographic location. Global resources can be accessed by anyone and are filterable by Geo Location using Zip Code.
File Resources
File resources are comprised of useful website links and any physical documents (e.g. word documents, .pdf files etc.) that you upload to the system.
To manage File Resources from within your portal:
1. Select the Resources sidebar menu item.
2. The Manage File Resources Screen will provide you a table view containing the file resources that have already been added to your portal (if applicable). The table headers are explained below.
Name - The name of the resource.
Category - The category that the file resource is best suited for.
Rating - The average rating based on client feedback.
Is Global - A check designates that the file resource has been moved from the Local Resource Library to the Global Resource Library.
Description - A short description of the resource.
Adding File Resources (Physical)
3. To add a new File Resource click on the New File Resource Button in the bottom right hand corner of the screen. |
4. To complete uploading a Physical File Resource:
4.1. Give the File Resource a name using the Name field
4.2. Select a Category that best suits the document you will be adding
3. Ignore the "Is External" checkbox for now, and use the "Choose a File" field to select a document from your local computer to upload.
4. You can add tags to the File Resource using the "Tags" field. Use a " - " dash, to concatenate tags with multiple words and press space to add the tag.
5. Provide a description for the File Resource in the "Description" text area.
6. Click "Save" to complete adding the File Resource.
Adding Online Web Resources (External)
1. Follow the same process described above to add online resources.
3. In the Link Field paste the URL (ex - https://recoverysupport.com/) of the web page you would like to link to.
4. Repeat the reaming steps for adding a resource and click "Save" to complete adding the Online Resource.
Viewing File Resources
1. To view a file resource that is already in your system: hover your mouse over the "triple dot" icon highlighted in the image below and select "Open"
2. Clicking "Open" will take you to the website if the File Resource as an "External Resource" or it will open the File if the resource was a "Physical Document".
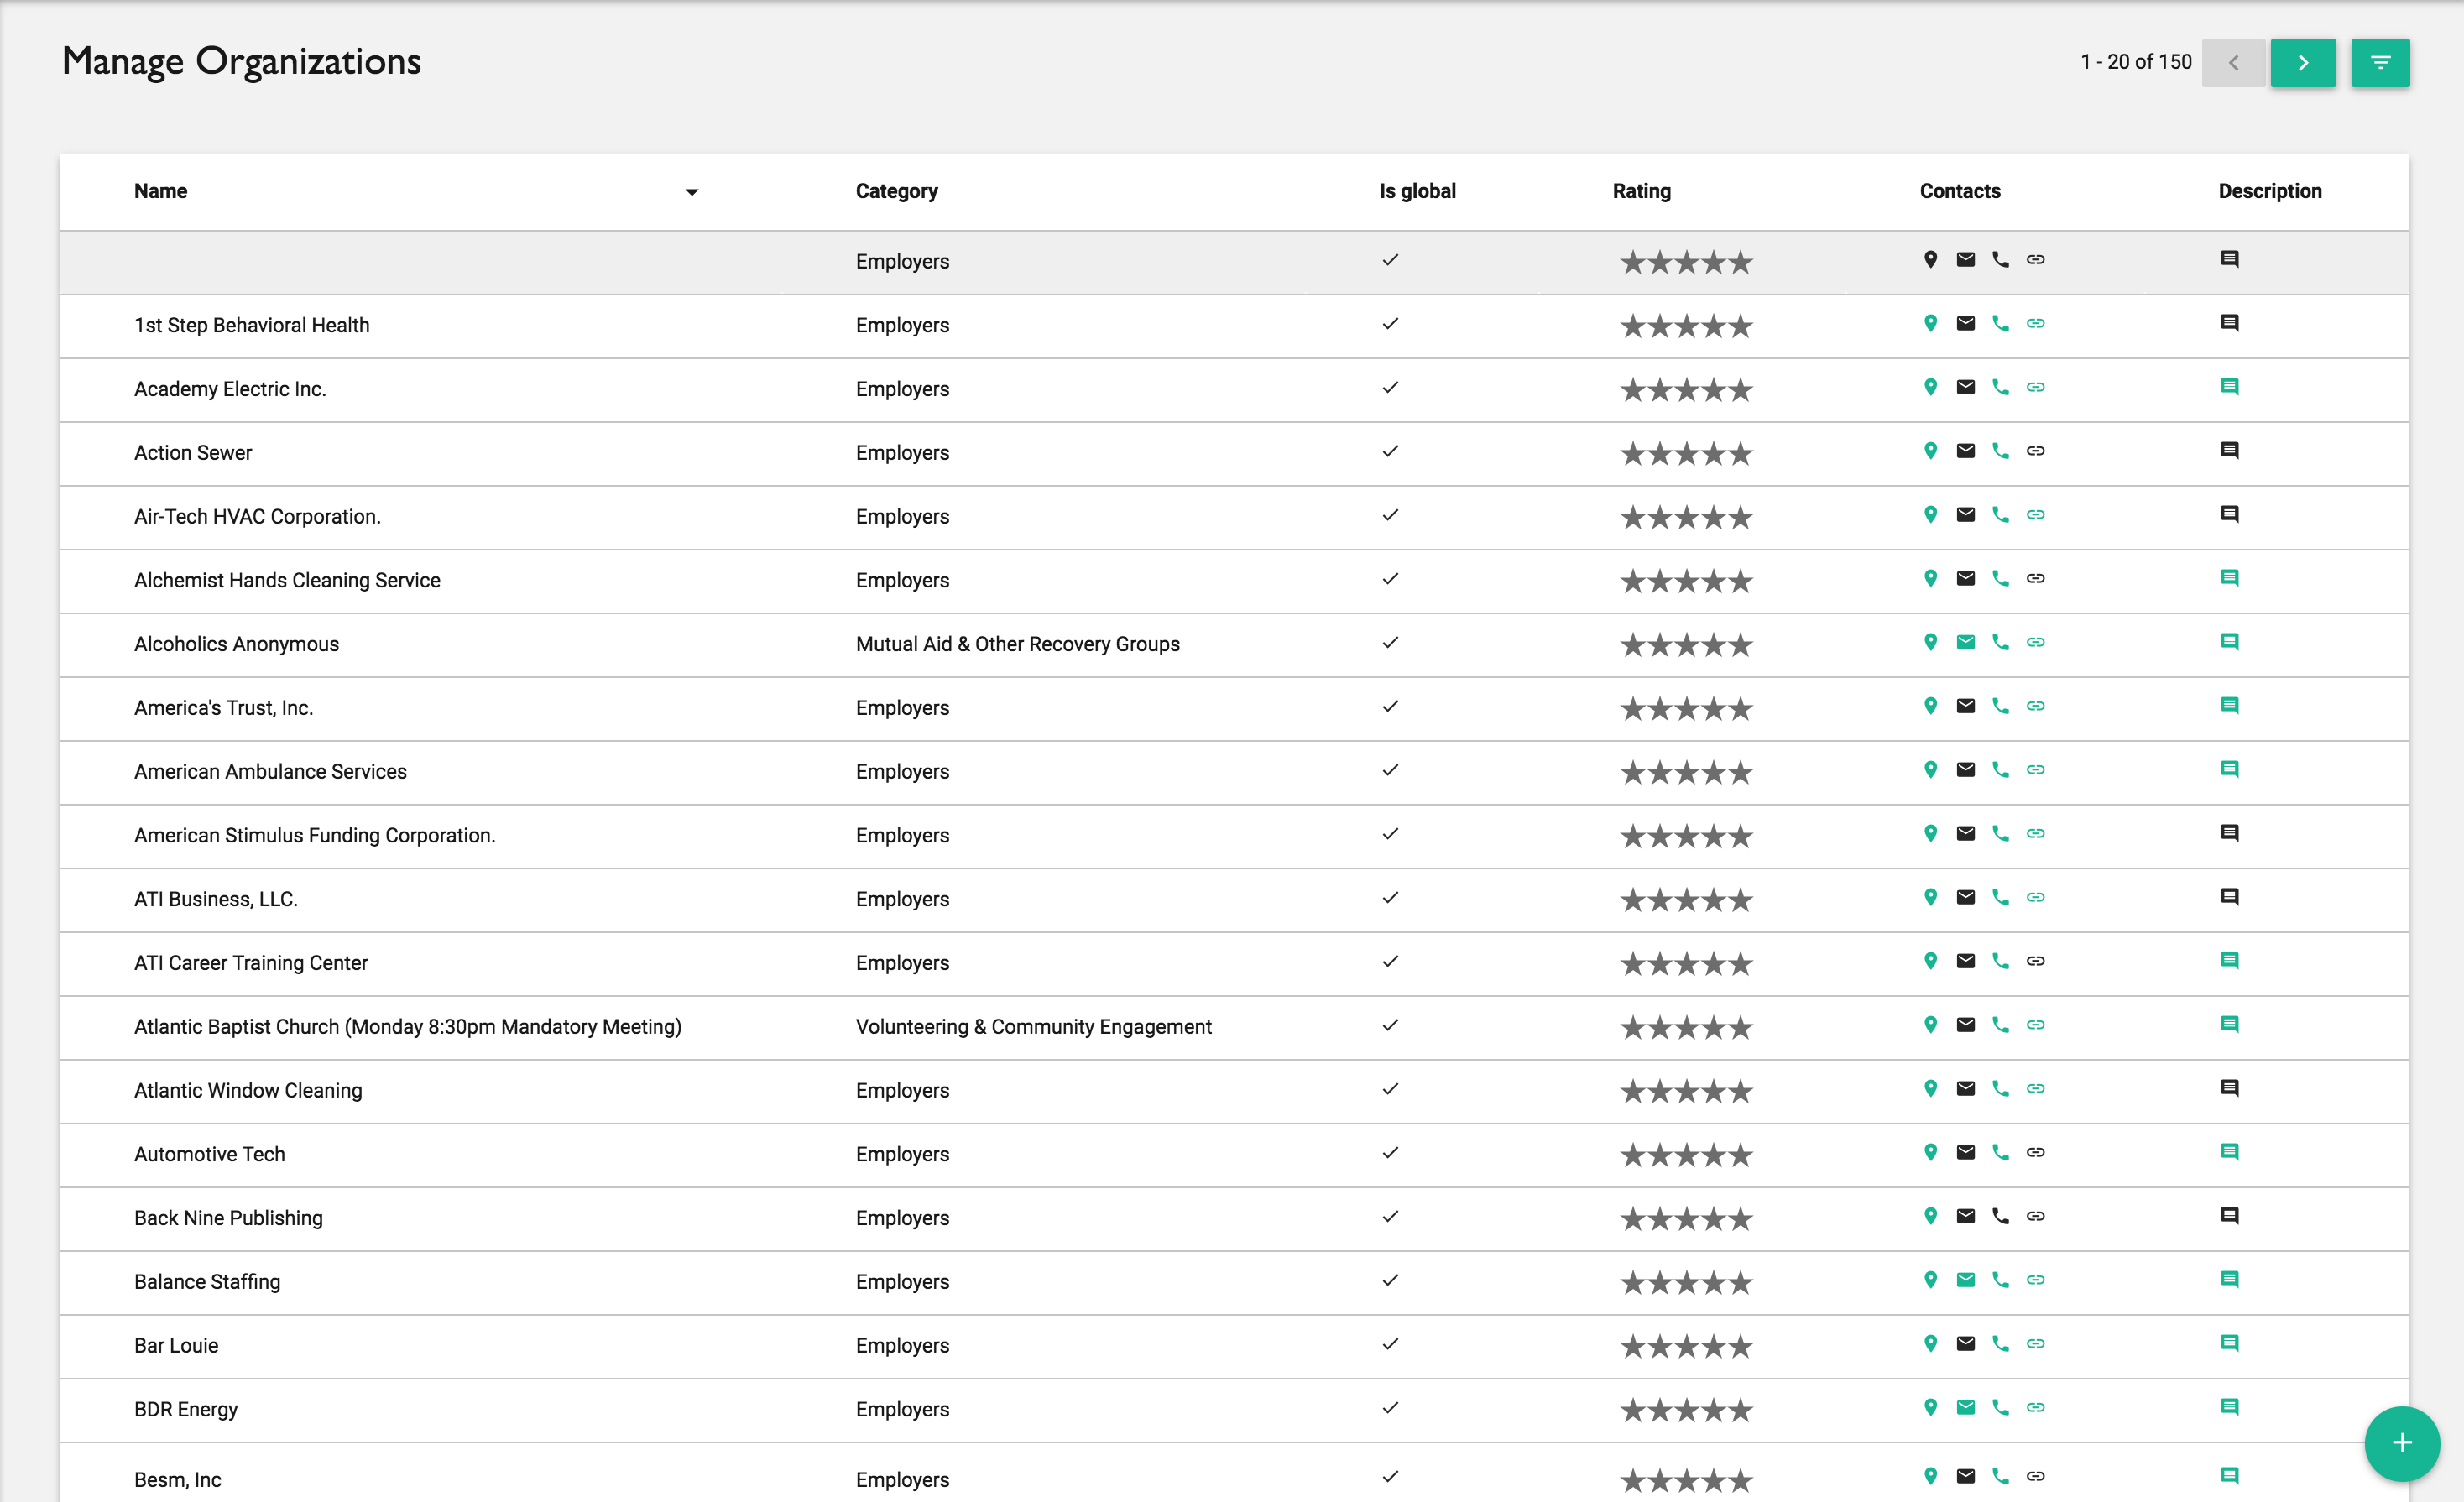
Organization Resources
Organization Resources are comprised of organizations and the individual contacts at those organizations.
To manage Organization Resources in your Portal
2. The Manage Organizations Screen will provide you a table view containing the Organizations that have already been added to your portal (if applicable). The table headers are explained below.
Name - The name of the organization.
Category - The category the organization is best suited for.
Is Global - A check designates that the file resource has been moved from the Local Resource Library to the Global Resource Library.
Rating - The average rating based on client feedback.
Contacts - Each icon displays information when hovered over. You can see Location information, email address, phone number, and website information pending there is information entered for the resource.
Description - Hover over the description to view the description if there is one.
Adding Organizations
3. To add a new File Resource click on the New File Resource Button in the bottom right hand corner of the screen. 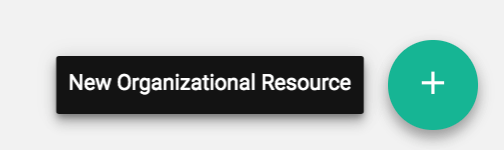
4. Begin typing the name of the organization you would like to add in the "Name" Field. As you type, Google will suggest matches for organizations near you. If the organization you want to add appears in the list just click it and the rest of the available information will be filled out for you. See the example below.
If the all of the information for the organization your looking for does not populate in the google list, just complete entering it manually.
5. Select a Category for the Organization that best suits the services provided using the "Category" drop down list
6. Provide a Description for the Organization using the "Description" text area field.
7. Add any desired tags for the Organization using the "Tags" field.
8. Click "Save" to complete adding the Organization as a resource.
Adding Organizational Contacts
 Manage Organizations View
1. Navigate back to the Manage Organizations View and click on the line item containing the name of the Organization you would like to add contacts to.
3. Enter the contact's Name in the "Name" Field.
4. Give the contact a Role using the "Role" Field.
5. Provide a phone number for the contact using the "Phone" Field.
6. Enter the contact's email address using the "Email" Field.
7. If you would like to make this the primary contact for an organization with multiple contacts just check the box next to "Make primary contact".
8. Click the "Add" button to complete adding the contact for the Organization.
Related Articles
How to Edit Goal Templates
Are you a resource librarian? Do you need a refresher on how to edit Goal Templates? If you do not have access to editing goal templates and need access please let us know. Adding System Users
Adding System Users Step 1 Click on the "hamburger" to open the sidebar navigation menu then navigate to the bottom and click "System" and then click "Manage Users". Manage Staff Users Step 2 Click on the green [+] Add New User button at the bottom ...Adding System Users & Assigning User Permissions
Adding System Users Step 1 Click on the "hamburger" to open the sidebar navigation menu then navigate to the bottom and click "System" and then click "Manage Users". Manage Staff Users Step 2 Click on the green [+] Add New User button at the bottom ...